
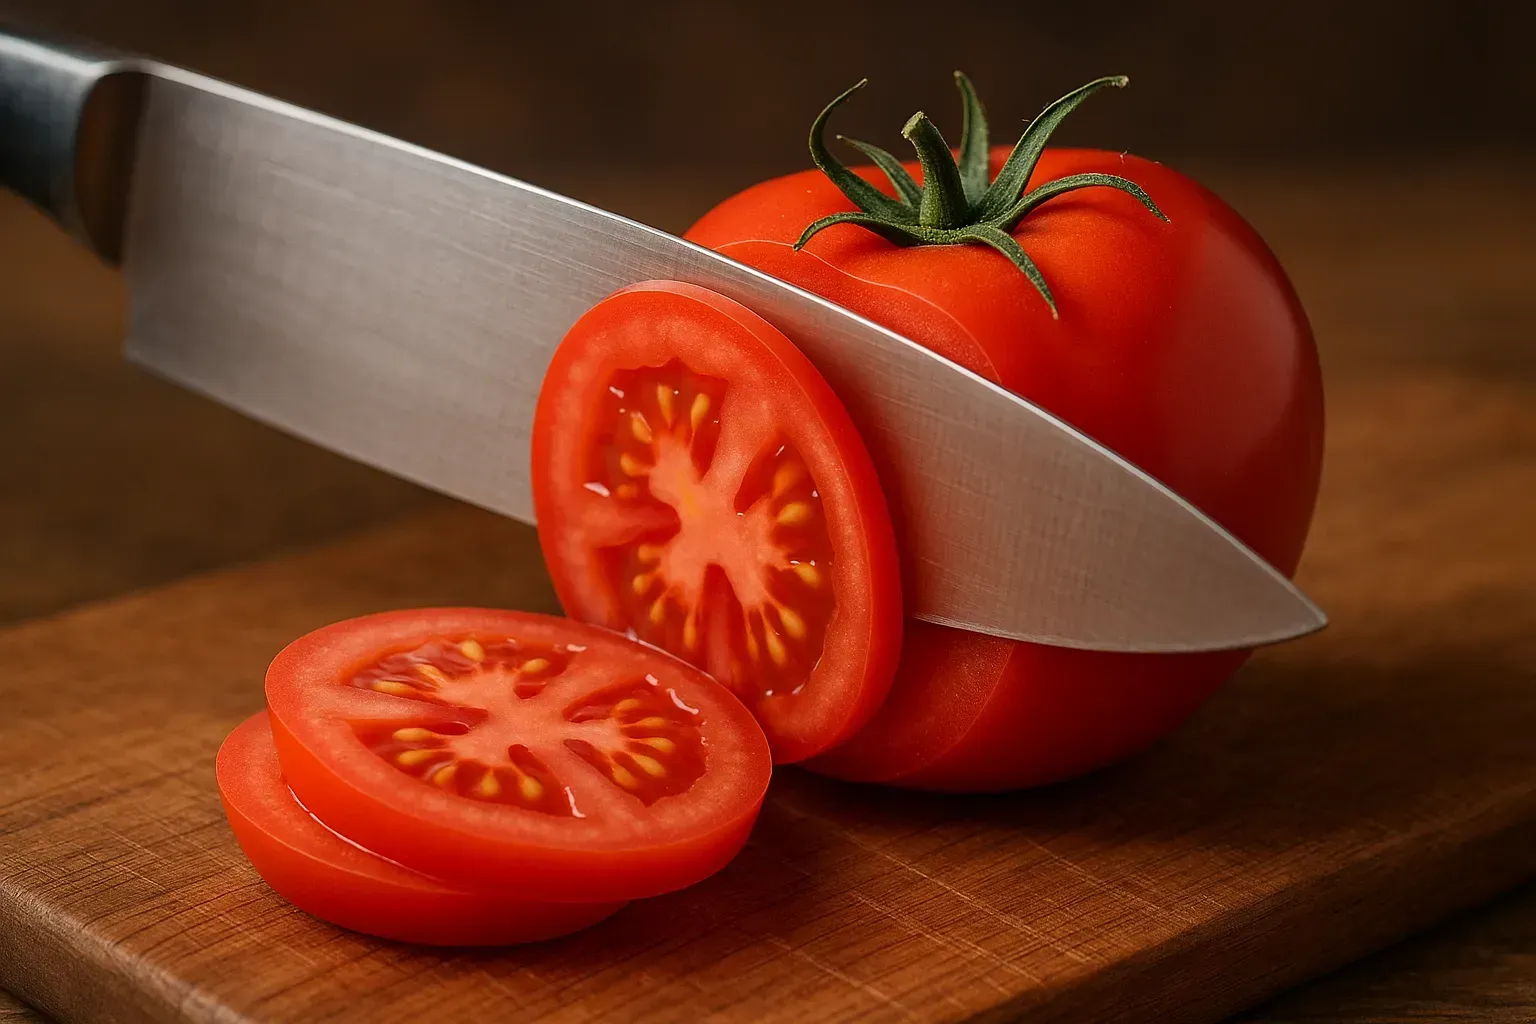
Keeping your chef’s knife sharp is essential for safety and performance. A sharp blade slices effortlessly and predictably, while a dull one requires extra force and can slip unpredictably. In fact, dull knives are more dangerous—they demand more pressure, increasing the chance of slipping and causing injuries. By learning how to sharpen a chef knife manually, you ensure safer cuts and faster prep work. A well-maintained knife will cut cleanly (even slicing herbs without bruising them), reducing fatigue and making cooking more enjoyable. This manual knife sharpening guide will walk you through beginner-friendly techniques using simple tools like whetstones and honing rods to keep your kitchen knives razor-sharp. At the end we will also share our picks for the best products to hand sharpen your knife!
How Manual Sharpening Works
Manual sharpening generally involves abrasive tools (stones or rods) that remove or realign metal on the blade’s edge. It’s important to distinguish sharpening from honing.
Sharpening (with stones) removes tiny amounts of steel from the blade to create a fresh edge. This is done by grinding the blade against an abrasive surface.
Honing (with a steel rod) does not remove metal. It realigns the already-sharp edge, straightening any microscopic bends. A “sharpening steel” is actually a honing tool, not a true sharpener.
Most chefs sharpen occasionally (a few times a year) but hone frequently—sometimes before each use. Proper manual sharpening requires practice in holding a steady angle and using controlled strokes, but with care you’ll quickly get comfortable with the process.
[Insert Image: Side-by-side comparison of sharpening vs honing]
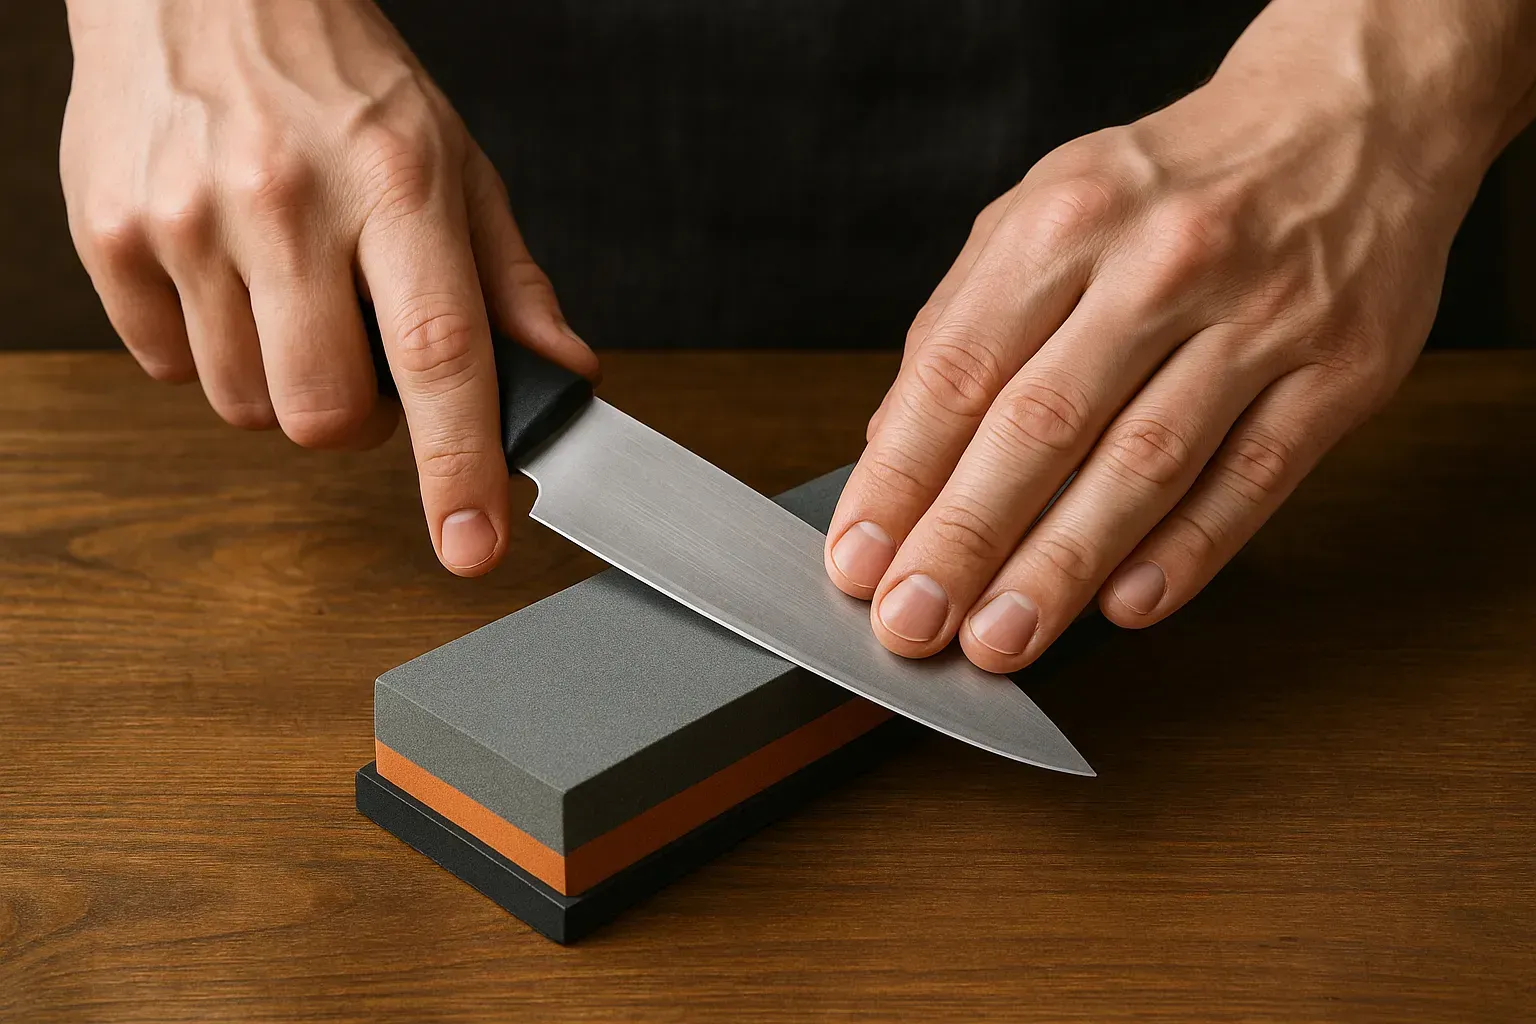
Sharpening with a Whetstone (Sharpening Stone)
A whetstone is the traditional tool for manual sharpening. Whetstones come in different grits:
Coarse grits (e.g. 1000) for fixing dull edges or chips
Fine grits (e.g. 4000–6000) for polishing to a razor-sharp edge
Many whetstones are dual-sided.
Steps to sharpen on a whetstone:
Prepare the stone. Soak a waterstone in water for a few minutes. Place it on a non-slip surface like a damp towel.
Hold the knife at the right angle. Aim for about a 15–20° angle. This is a common edge angle for chef knives.
Sharpen one side. Slide the blade heel to tip across the stone, applying light pressure. Repeat until a burr forms.
Switch sides. Repeat the same number of strokes on the other side.
Refine the edge. Use the finer-grit side of the stone and repeat the process with lighter strokes.
Clean the knife. Wipe off any grit or metal particles and dry the blade.
Keeping a consistent angle is key. Imagine slicing a thin layer off the stone with each pass. The motion should be smooth and controlled.
Using a Honing Rod (Sharpening Steel)
A honing rod is a cylindrical rod made of steel or ceramic. Unlike a whetstone, a honing rod realigns the edge without removing material. It’s great for regular maintenance.
How to use a honing rod:
Position the rod vertically. Place its tip on a cutting board and hold the top firmly.
Set the angle. Use the same 15–20° angle.
Swipe each side. Move the blade down and across the rod from heel to tip. Use light pressure.
Alternate sides. Repeat about 5–6 strokes per side.
This process helps your knife stay sharp longer between full sharpening sessions.
[Insert Image: Demonstration of honing with a steel rod]
Finishing Touch: Stropping (Optional)
For those who want a truly polished edge, stropping is a finishing step that removes the last microscopic burrs. A leather strop is often used, sometimes with a polishing compound.
How to strop:
Pull the knife away from the edge (edge trailing) across the leather.
Keep a consistent angle.
Repeat lightly on each side.
Stropping isn’t required for daily use but can elevate your edge sharpness even further.
[Insert Image: Knife being stropped on a leather strop]
Beginner Knife Sharpening Tips
Maintain a steady angle. Keep around 15–20° on both stone and rod.
Use light, even pressure. Let the sharpening surface do the work.
Secure your tools. Use a towel or mat to prevent slipping.
Keep fingers clear. Never let your hand get under the blade.
Sharpen the entire edge. Don’t forget the tip of the knife.
Hone often. Regular honing keeps sharpening sessions less frequent.
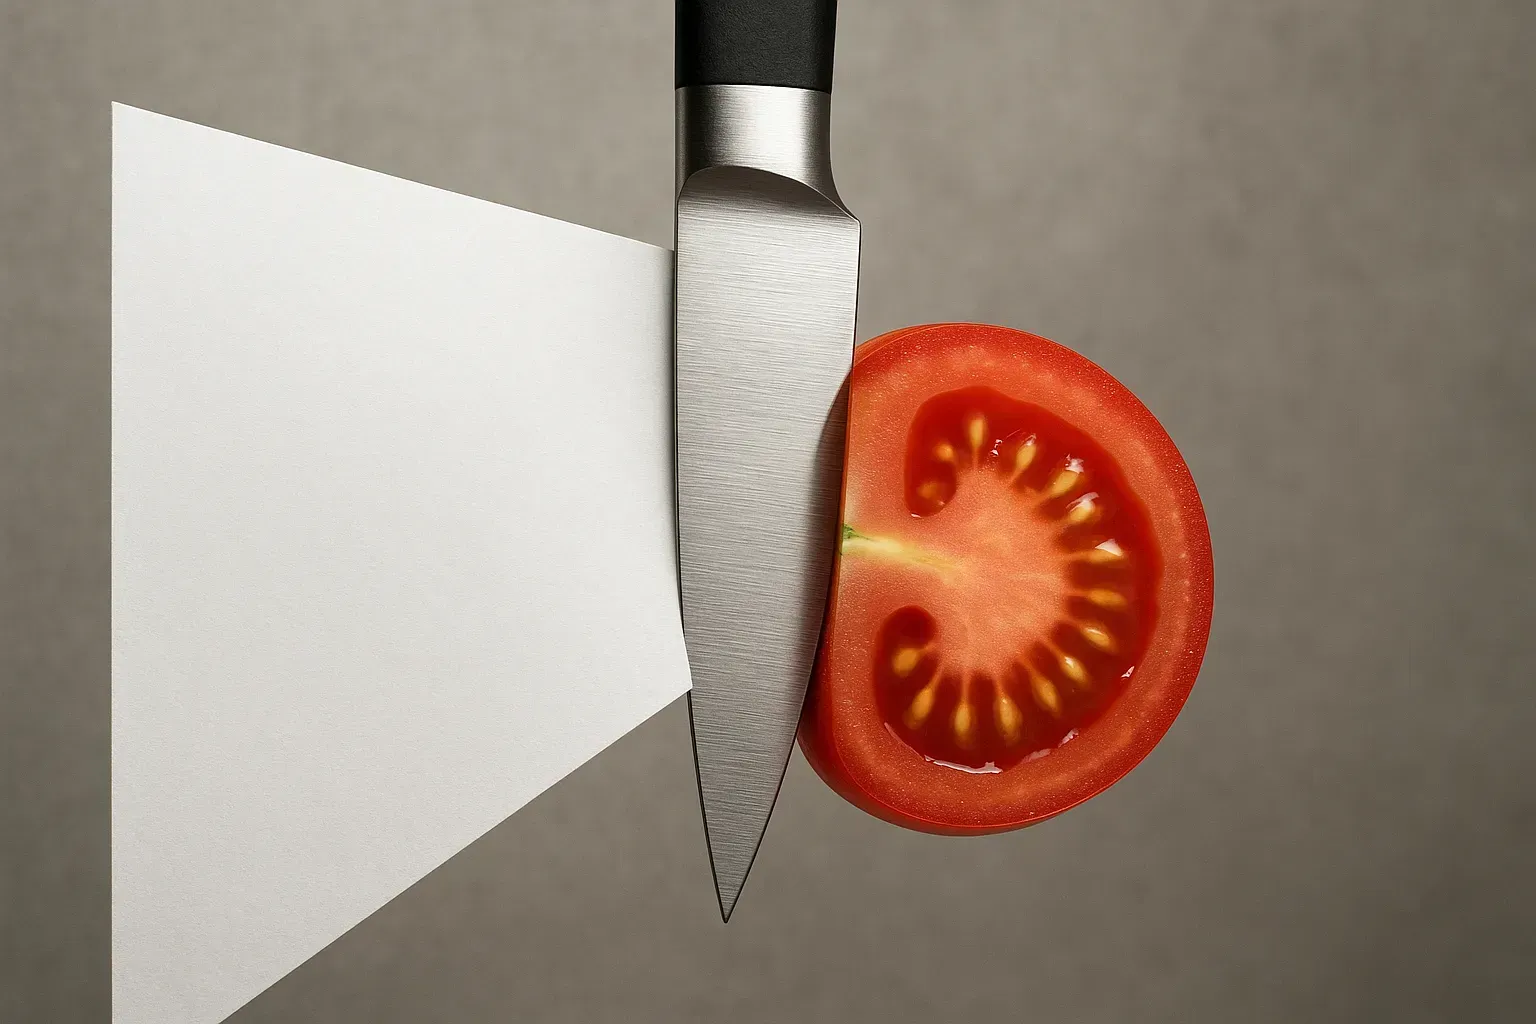
Test sharpness safely. Try slicing a piece of paper or tomato skin.
Clean and dry after sharpening. This prevents rust and buildup.
Go slow and steady. Rushing can lead to poor results or injury.
Wear safety gear if needed. Cut-resistant gloves are helpful for beginners.
By following these steps and tips, you’ll master how to sharpen a chef knife manually in no time. Manual sharpening may feel intimidating at first, but with a bit of practice, it becomes a rewarding part of your kitchen routine—and one that makes cooking safer, faster, and more enjoyable.
Ready to see our handpicked options to start your knife sharpening? check it out.
https://www.knifeservant.com/blog/besthandsharptools
Sources, https://www.urmc.rochester.edu/, https://www.mediocrechef.com/, https://www.quora.com/, https://www.allrecipes.com/, https://www.instructables.com/, https://www.restaurantware.com/, https://us.santokuknives.co.uk/, https://www.sharpeningsupplies.com/, https://bladebutlernashville.com/, https://worksharptools.com/, https://prosharpeningsupply.com/, https://www.country93.ca/.
